
Level 1 Challenge ~ Altenew Academy

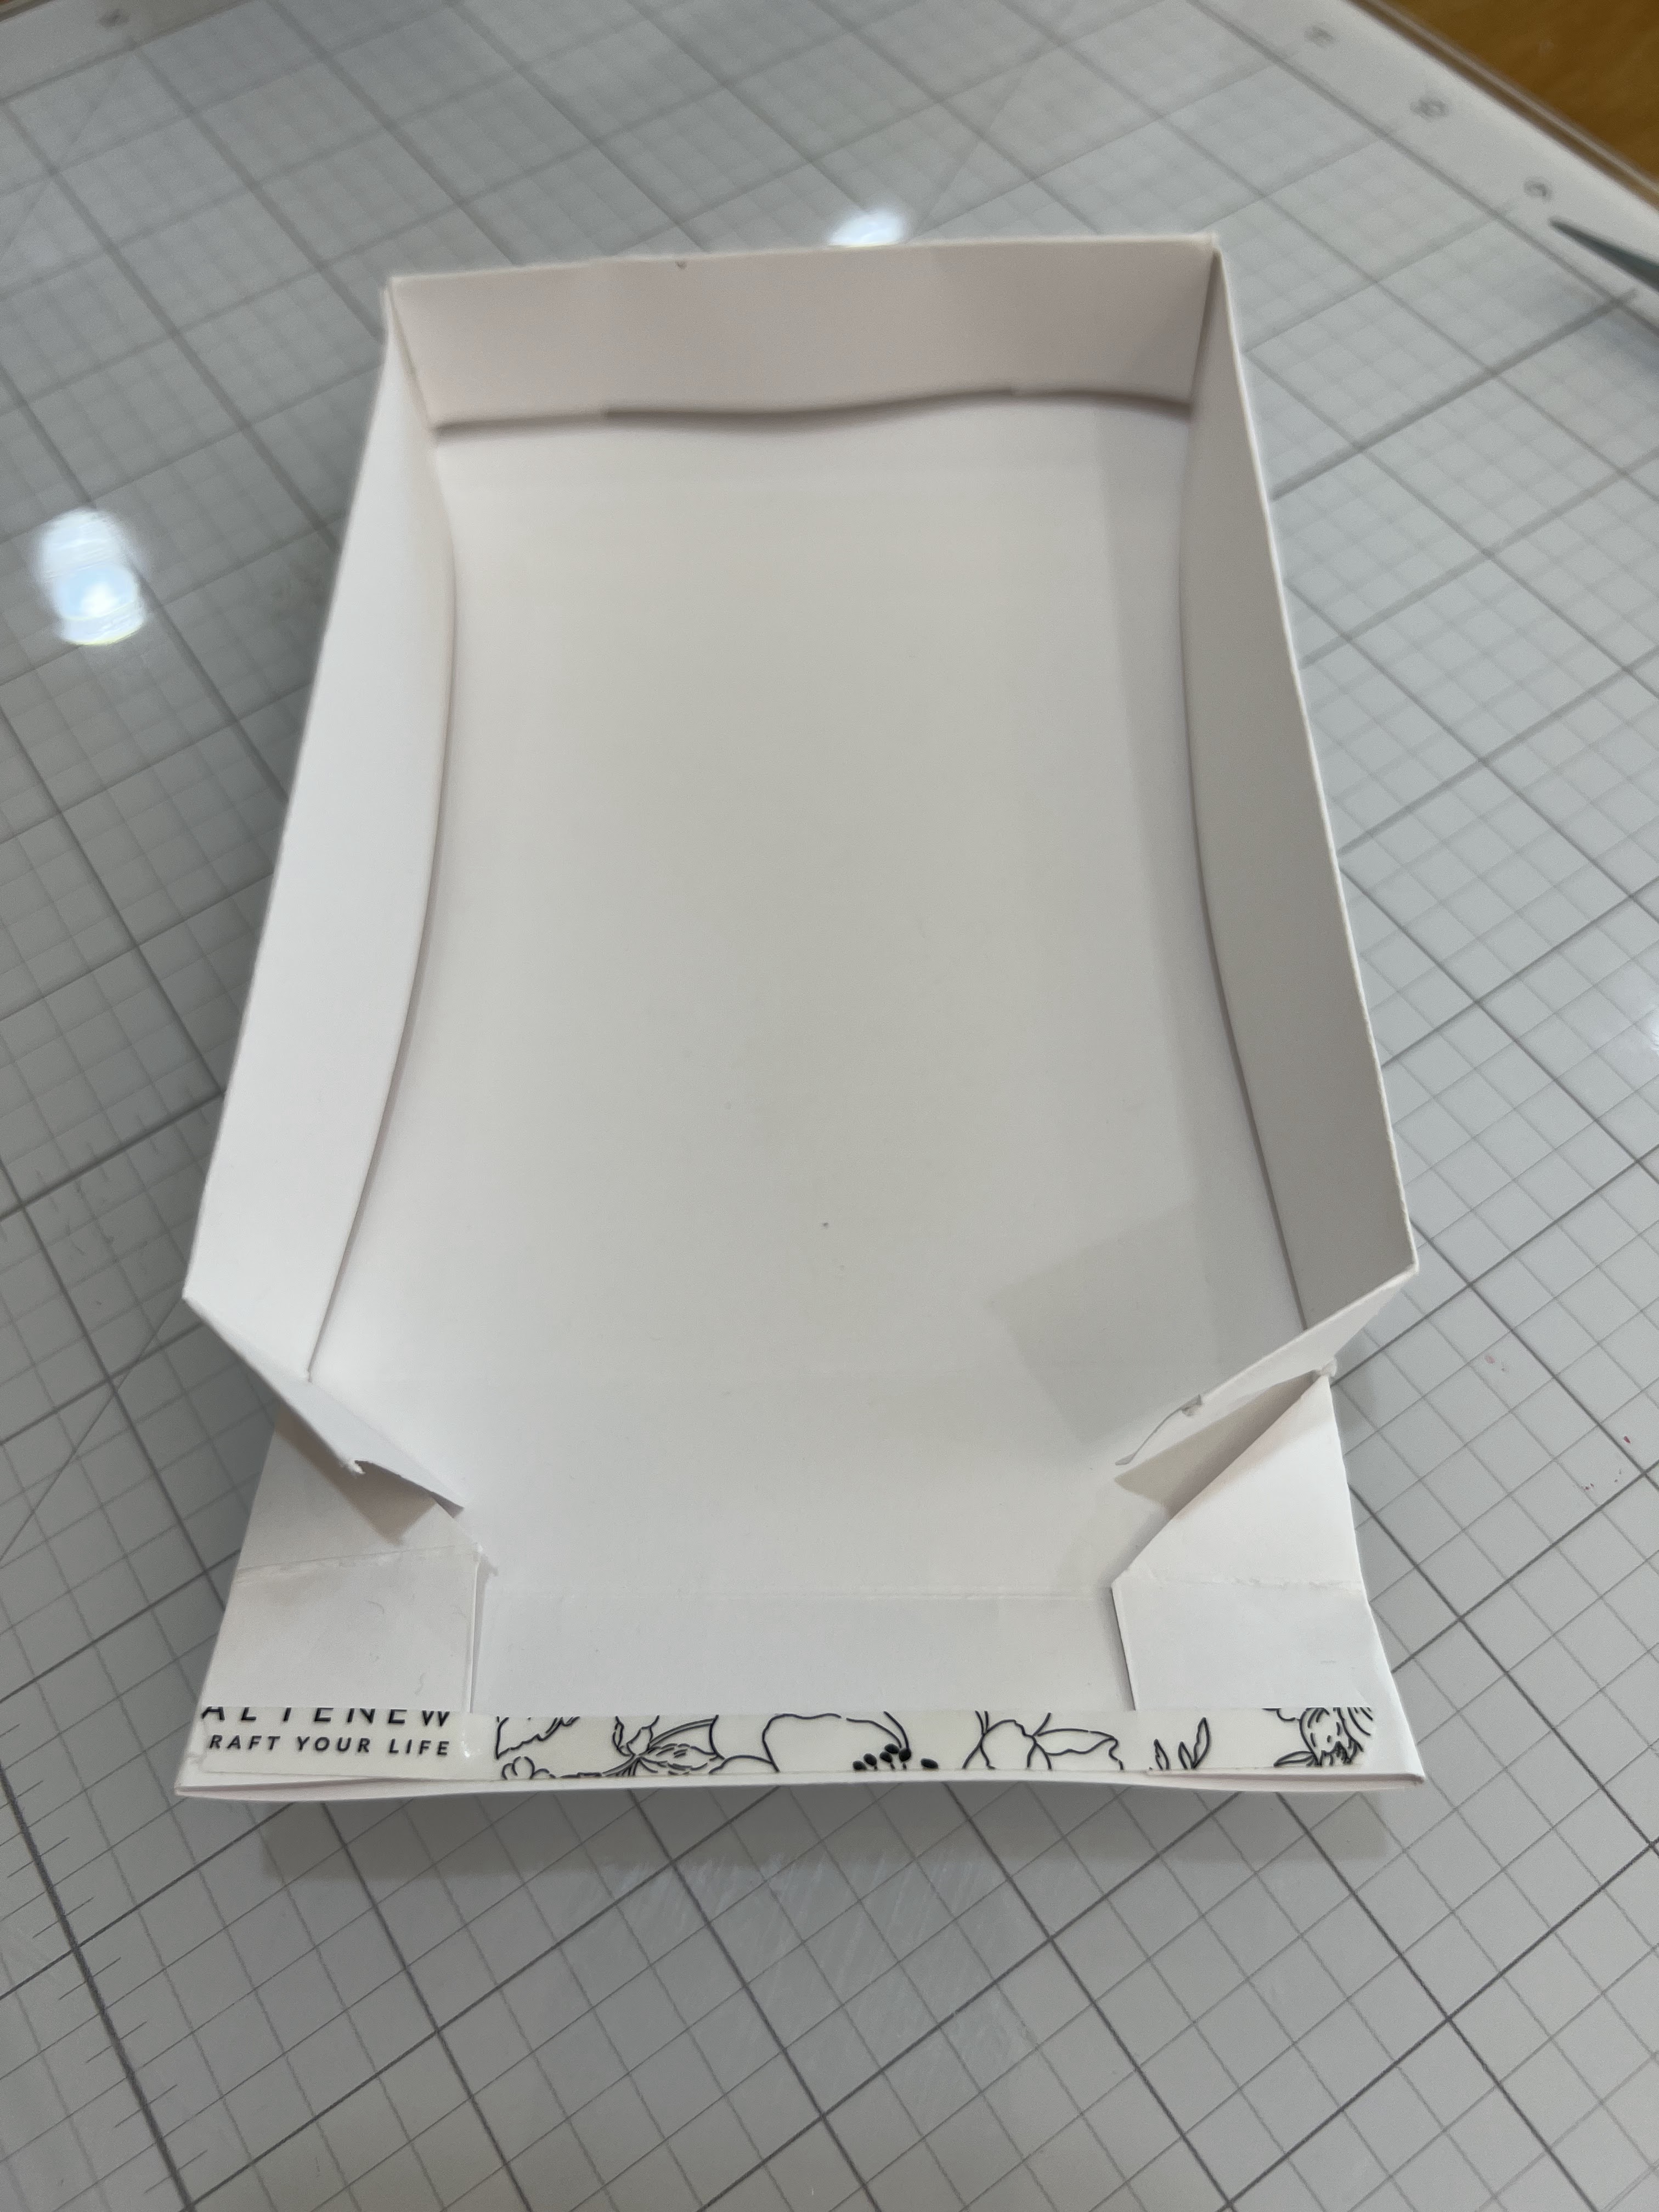
At the end of the Level 1 courses with Altenew Academy, you are given a challenge to see if you are ready for the next level of courses.  I was assigned to use 3 techniques from the 10 courses and to create gift sets with both masculine and feminine themes or colors. When creating the packaging for these sets, you are also required to use a recycled element in some way.  

I created 5 cards for each set.  The cards were created using the techniques from quite a few of the courses, so the main three that I focused on are, Celebration Stencil Techniques, Clean & Simple Boutique Cards, and Let It Shine. 


Celebration Stencil Techniques gave me the idea that I could Stamp an image, emboss it and then use the stencils to add color while still having image be visible being the main focal point.  Clean and Simple Boutique Cards helped me to realize that it doesn't have to have a ton of elements to be a card you are proud to give to someone.  The course also touched on presentation which was a great help when I was struggling to choose a way to package the 
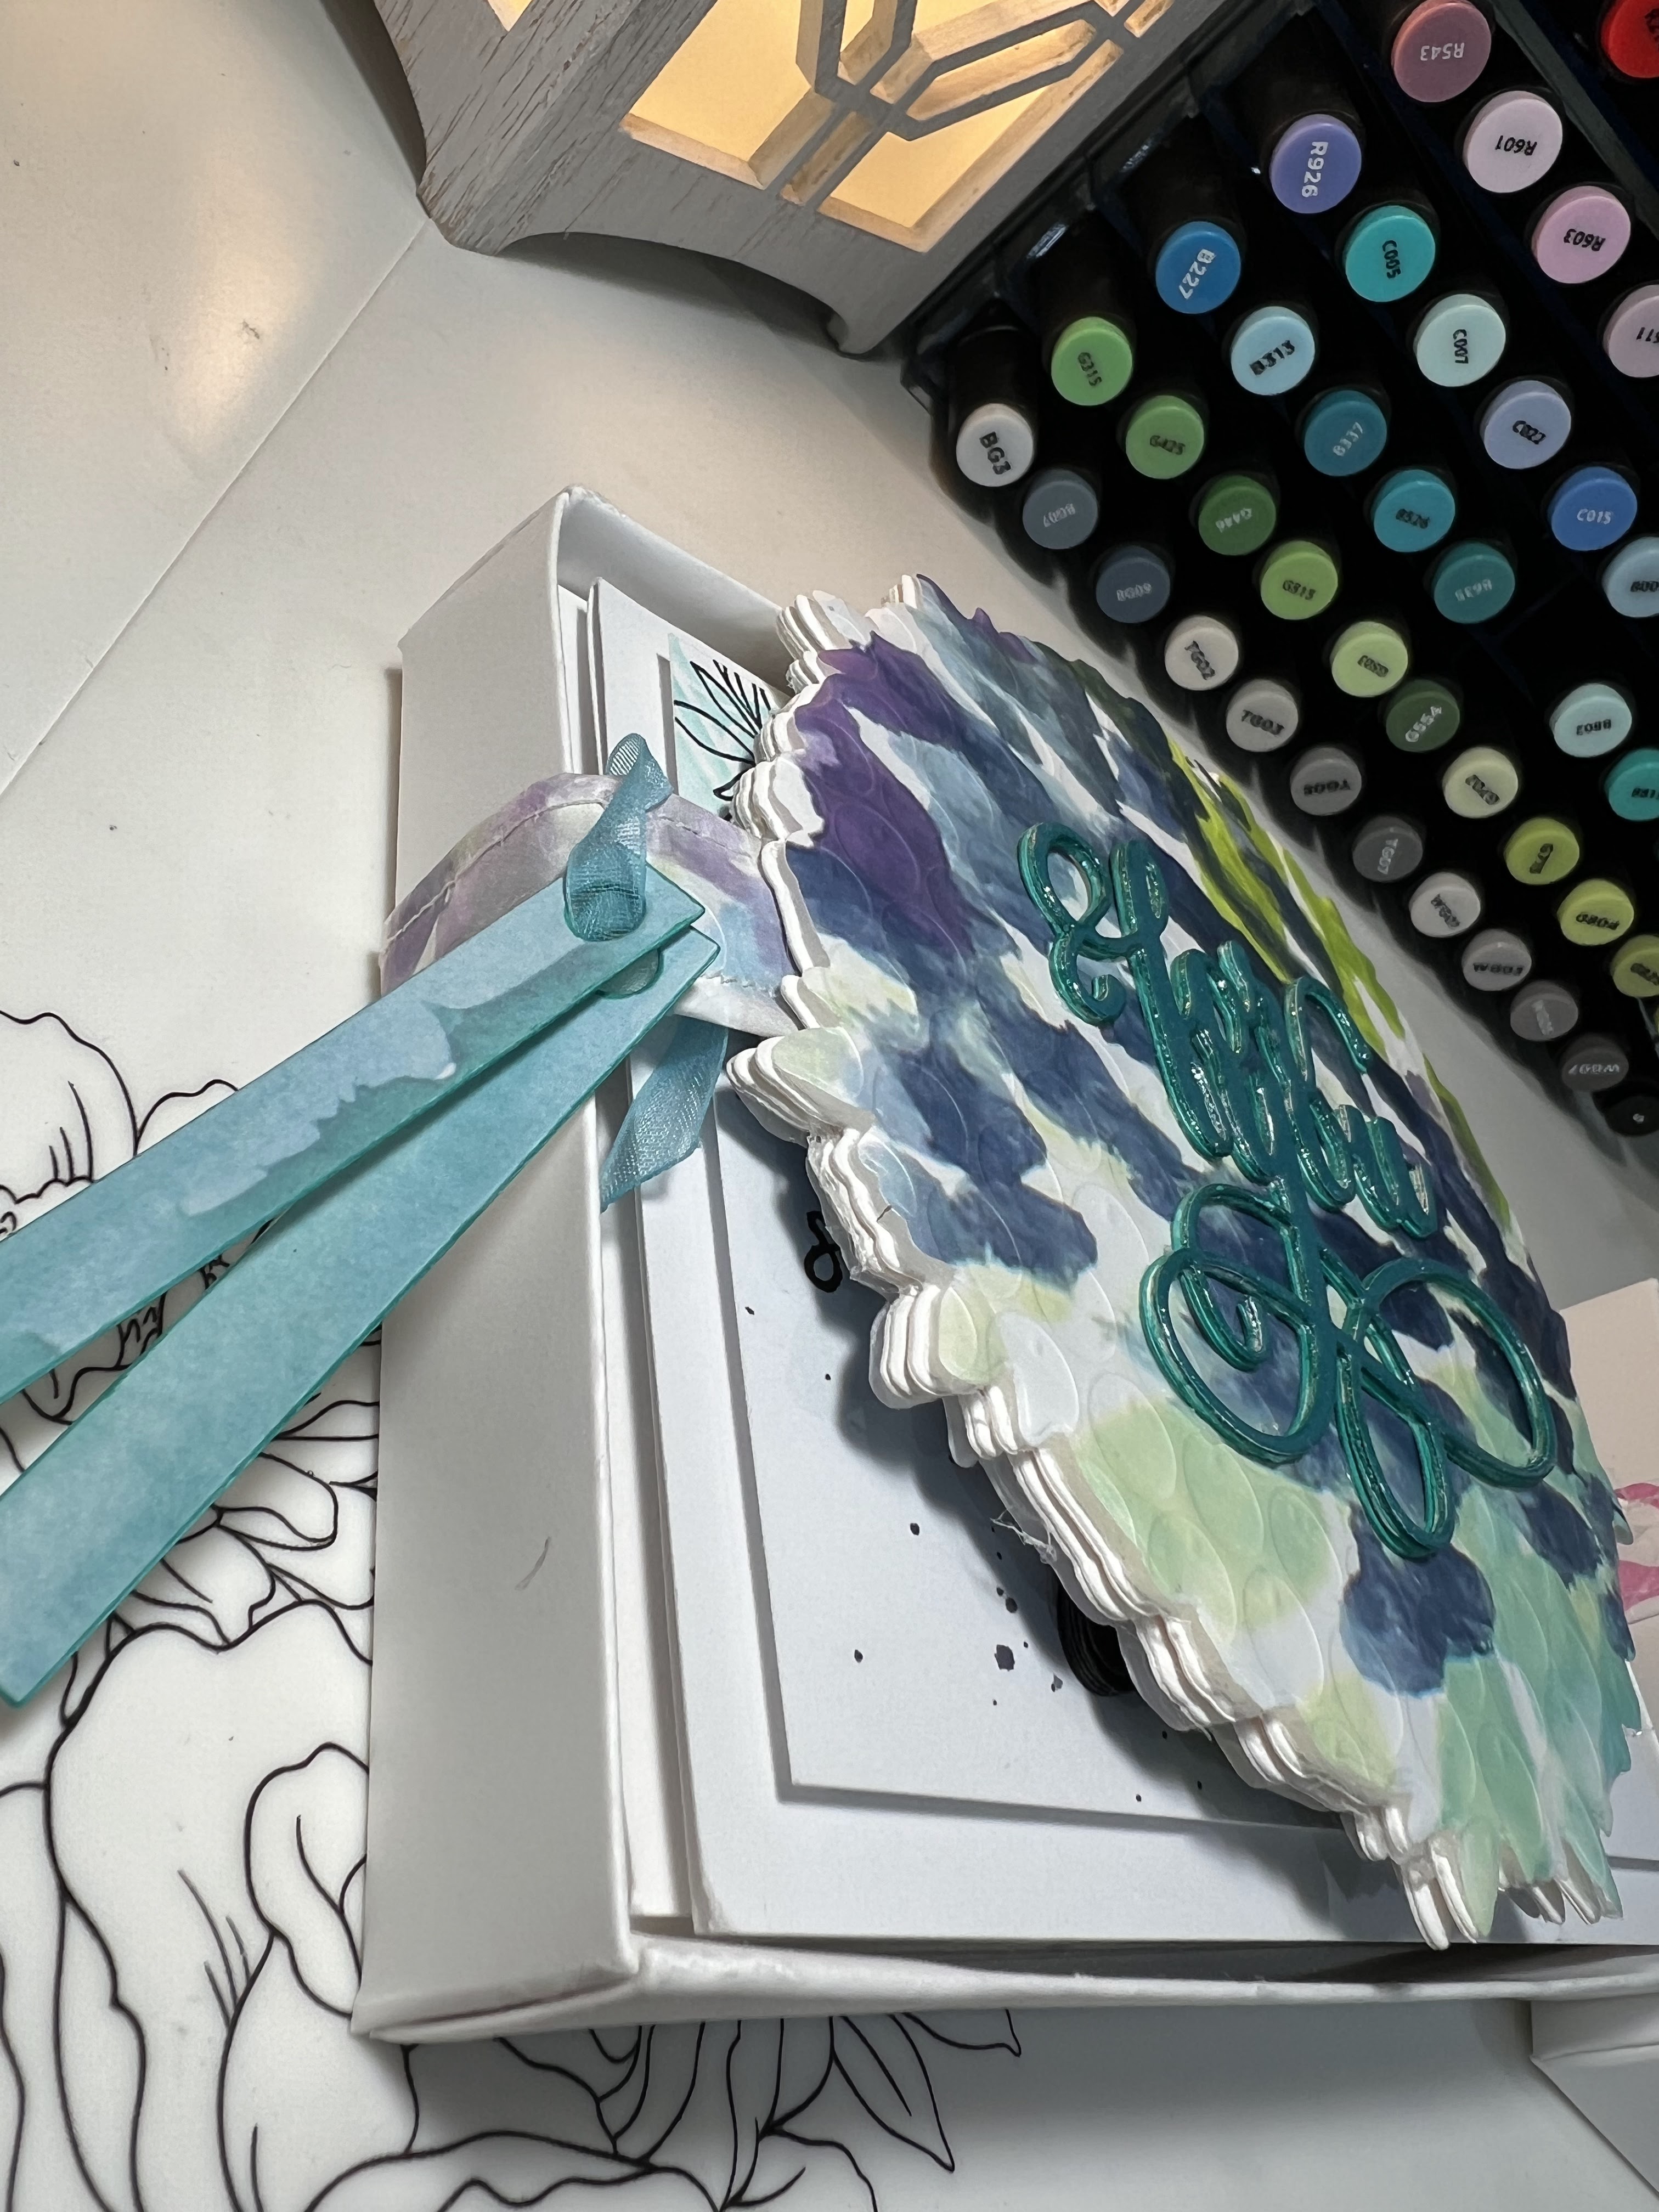
cards.  With Let It Shine, I used heat embossing for the main stamped image, glitter cardstock for a die cut sentiment, some Altenew metallic watercolor paints on another sentiment plus jewels and enamel dots to add to the mix. I also used washi tape for some of the sentiments. As far as I can recall, it wasn't a technique or item used in any of the level one courses but it was perfect for breaking up all the black color that was starting to take over in my opinion... 😉

 Each card is A2 in overall size.  I love dimension so they are all popped up with a layer of Altenew instant dimension foam tape.  The All 4 but one of Masculine cards were made before I had the stamp wheel.  So the issue was that I had a routine of how I was making them using the Misti.  When I switched to the stamp wheel, I had a problem with not being able to fit an entire 8 1/2 by 5 1/2 piece of paper into it to stamp on.  My dimensions were off, but I wasn't about to start over stamping again.  I improvised by trimming down the paper where I could and adding a strip of washi tape covered paper to the edges of  a few of the cards and a panel of black glitter cardstock to another.  In all the time that I have been making cards, I haven't given up on any of them or thrown them out.  There's always a way to "fix" any mistakes you think you might have made.  I always say that there is no such thing as a mistake when it comes to creativity or art.


List of the products I used as well as links to each product if applicable

  1. Stamp Wheel
  2. Blooming Mandalas Stamp and Die set
  3. Obsidian Pigment Ink
  4. Clear Embossing Powder
  5. Neenah Classic Crest Smooth Solar White 110lb. Cardstock (Amazon)
  6. Neenah White index 110lb. Cardstock (Amazon)
  7. Black Cardstock 92lb.  (Amazon)
  8. A2 Card Bases 
  9. Instant Dimension Foam Tape
  10. Double sided Tape
  11. Scrapbook Adhesives By 3L foam squares (Amazon)
  12. Linear Stencil
  13. Henna Square Stencil
  14. Layered Medallion A Stencil 
  15. Sunburst Stencil
  16. Doily Frame Stencil
  17. Intricate Mandala Stencil
  18. YOU Matter die set
  19. Healthcare Heroes Stamp Set
  20. Halftone Happy Stamp and Die Set
  21. Dotted Blooms Stamp Set
  22. Beautiful Quotes Stamp Set
  23. Congrats Die Set
  24. Double-sided Adhesive Sheets
  25. Hang In There Die Set
  26. Jet Black Alcohol Ink Marker
  27. Cosmic Berry Alcohol Ink Marker
  28. Grapevine Alcohol Ink Marker
  29. Volcano Lake Alcohol Ink Marker
  30. Waterbrush Hello Die Det
  31. Fancy Enjoy Die
  32. Way To Go Die Set
  33. Branches And Berries Die Set
  34. All About Wishes Die Set
  35. Metallic Watercolor 14 Pan Set
  36. Create A Wreath Die Set
  37. Watercolor Essential 12 Pan Set
  38. Rose Petal Washi Tape Set
  39. Seashore Washi Tape
  40. Cool Summer Night Enamel Dots
  41. Essential Black and White Enamel Dots
  42. Rose Petal Enamel Dots
  43. Cherry Blossom Enamel Dots 
  44. Essentials Jewels Mix (Pink Fresh Studio)
  45. Mini Blending Brush Set
  46. Large Ink Blending Tool
  47. Cool Summer Night Crisp Dye Inks
  48. Rose Petal Crisp Dye Inks
  49. Sugarplums Crisp Dye Inks
  50. Pink Brilliance Glitter Cardstock
  51. Dazzling Diamond Glitter Cardstock
  52. Black Glitter Cardstock Panel  (Amazon)
  53. Seashore Gradient Cardstock
  54. Rose Petal Gradient Cardstock
  55. Reflections 6x6 Paper Pad {no longer available}
  56. Terrific Tags Die Set
  57. Mini Blossom Die-Cutting Machine
  58. Fancy For You Die 
  59. Tombow Mono Liquid Glue (Amazon)
  60. Transparency Film (my own stash)
  61. Teal Glitter Cardstock (company unknown)
  62. Basic Grey Bling It Pink Rhinestones (discontinued)
  63. Altenew Padded Shipping envelopes 

I am in awe at the number of products it took to create these sets.  You don't realize the time or the many tools and products you use to create cards. I think it took me longer to list and link them, than it did to make them...JK.

Also, there are a ton of photos.  I so appreciate the time taken to read and see what I have made.  (thank you)


So, to explain my process, I had made a single card some months back and as time went on, I wanted to make a set with the products and such for a gift.  When I got the email to start the challenge, I had already made 4 of the masculine-colored cards, so setting up and choosing colors for the feminine cards came easy.  When I explain the process, I will be including all the cards at once instead of explaining the process for each individual card, even though I don't have a process down on creating cards in an assembly line type of situation.  I tend to create each one differently and try not to make them too similar.  


For the cards, I made them in a standard A2 size card while trimming the panel to 5 and 1/4 by 4 inches.  I stamped the mandala image 5 times with obsidian pigment ink and heat embossed each image with clear embossing powder. I cut the mandala image in half and chose various stencils to lay over the embossed image for ink blending.  After they were inked, I used the black watercolor from the essential 12 pan set with a little water and fine liner watercolor brush to create ink splatters on each of the panels.   


Next were the die cut sentiments.  I cut out quite a few from the above listed.  I added 110lb white cardstock to all of them to give them strength and an added dimension.  With two of the sentiments, I opted to use craft foam with double-sided adhesive, which in the end was not my best idea. The adhesive was fine, but if I had had black foam, it would have been easier.  I ended up using the Jet Black Alcohol Ink Marker with the brush tip to fill in any white showing on the sentiment.  In the end it worked great.  It was just more time-consuming than anything.


Here is where individuality comes in.   I wanted to make each card special with a little bit of its own flair. So, the next few photos are of the process in making the sentiments.


After I was done cutting out all of the sentiments, I laid them out to see how I wanted them to look on each card.   I worked on each one separately, creating one after the other.  I added some  jewels, enamels dots or glitter die-cut elements to finish off each card.


For the presentation of the cards I chose to use the Altenew padded envelopes for my recycled item.  I wanted to create a belly band around the box with the beautiful envelope prints and these were perfect!!!  I cut the envelopes open for a vertical piece that would give me as much length as possible without any wording or tape.  I cut a piece approximately 16 inches long by 1 1/4 inches wide.  I sewed each piece so as to have a finished edge to bring around a hand made box bottom to hold the cards in.  


I then used the larger piece of each envelope to cut out the shape of the mandala with the coordinating die.  I added 2 additional shapes to it with 110lb. cardstock and a second piece of the envelope for the back of the piece. I measured around the box and adhered the pieces to the mandala shape with hot glue.  I cut out the die words for you in Glitter cardstock and well as about 4 110lb cardstock pieces and glued them together with liquid glue.  I used the Volcano Lake and Cosmic Berry alcohol markers to color the edge of each die-cut.  In the end on the masculine card, I had to use and different glitter paper for the die.  The blues in the paper pack weren't matching the way I wanted them to.  The larger tags got nixed as well.  I used the smaller tags tying them to the side of the mandala with 1/4 inch organza ribbon.  


The box was made out of 110lb. cardstock as well. I made quite a few to get the hang of it and how I wanted it to look and fit with the band.  I made it with a piece measuring 9 3/4 inches by 8 1/5 inch scoring at 1 inch and 2 inches all the way around each side.  I then cut the square corner off of each side, at the 1 inch mark and cut a diagonal line at each corner.  I folded each side as shown in the photos.  Using adhesive tape and liquid glue, I attached and tucked all four corners to complete the box base. 


With lids


I made two additional boxes to use for lids to protect them when I give them as gifts.  I also made 2 more bands and tags to go with them.  I think I like the closed boxes with the different bands more because of the clean look it has.  Below are more photos of the boxed cards and envelopes.  


Thank you again for taking the time to check out my level 1 challenge submission.
Have a beautiful rest of the week!


Comments

Erum Tasneem said…
Jami, what an ingenious way to use the same design yet manage to make each card slightly different than the other so they are not considered replicas! Well done! I like that you switched the stencils, placement of sentiments, and small details like that. You did a fab job. Thanks for sharing extra photos to show how much work went into creating such clean and simple cards! The entire package looks amazing!
Thank you for your kind words. I know it was lengthy in describing my steps, so I wanted to make sure I had enough photos to accompany the explanations for everything I did. Looking back, I think a video would have definitely been less time in putting everything together. I haven't made a video on creating cards before so maybe that should be something I work on as well. ;)
Again, thank you. You have been wonderful with your critiquing and the time you have taken to encourage me and keep me on track.

Popular posts from this blog

June Inspiration Challenge #3

And for the 3rd one.  The Challenge can be found here .  This last card was a happy ah-ha moment when I had laid the die cuts in a pile of works not yet created.  The orange and yellow distressed oxide ink backgrounds that I had created for future use screamed " HELLO?!?!"   I knew exactly what I wanted to do.   Long story short, the Saffron build a flower die set is so easy to create and having the Altenew Blends Paper Pack already in my stash, I went with the more pink and purple tones for a second set I had cut out.  The black frame and the circle die cut lifted up just a tad made me happy I had created it.  The Happy Birthday sentiment is from the Botanical Line Art stamp set for June's Ultimate Subscription as well as the Saffron build a flower die.  I added some Cherry Blossom enamel dots and mounted it to a black A2 card base. P.S.   I found that if you get liquid glue on the paper from the paper packs, be aware that using an adhesive eraser will also remove some o

June 2023 Inspiration Challenge

Today I have 3 cards to enter in the June Inspiration Challenge over at Altenew .  Deepa Robbins is hosting this month.  Her story behind her photograph and the colors chosen for  the challenge are beautiful.  Not to mention her card?!?!  Again, beautiful!  Altenew is also a great source for finding 'new to you' (and me🙂) card makers to be inspired by.  On with the cards. The first two are made using the Dynamic Duo: Luscious Flora stamp along with Deep Iris, Coral Berry and Just Green Crisp Dye Inks .  For the first one, I used the Color Pop Hello die and the "my friend" sentiment from the Paint-a-Flower Modern Pink Dianthus stamp set.  I stamped the image on a 110lb. A2 card base creating a background with the three inks.  Die cut my Hello and and backed it with purple cardstock.  I cut 3 three additional "hello"s to layer onto the cut which I heat embossed with clear embossing powder quite a bit to give them an awesome shine and deepen the color a bit

Blogging is not my super power... all about layering 1

I'm not sure I have one, but I haven't blogged in about 10 years or more.  I used to post on a regular basis back when I was knee deep in 3 kids, 4 dogs, 3 hamsters, a gecko, carpooling, crafting, design teams and magazine publications. Fast forward to today...  I am officially a grandma to 2 beautiful little girls.  My children are all grown and having their own babies.  Life is good.   My husband and I are retired now and have slowed the pace a bit.   I still love paper crafting and photography.  I don't think that will ever change. I am taking courses with Altenew Academy and this is my first post for the All About Layering 1 course.  I had never been much into stamps because it seemed so difficult to get the images to come to life.  I did a ton of one color stamping and a ton of embossing.  That was years ago before the layered stamps came out and the Misti was invented.  I am in love with making cards with stamps now!  The stamps and die cuts, the papers, the inks, the