So after taking 4 layering courses, I have a pretty good understanding of layering per say. My ability to line the stamps up is getting better and I was happy with the way I finished off the latest card.

There were a quite few examples where different things were added besides layering the stamps. One that caught my attention was the use of embossing paste. I chose to use a stencil and add some translucent pearl crisp powder to it, instead of the paste after inking it. I love the finished look.
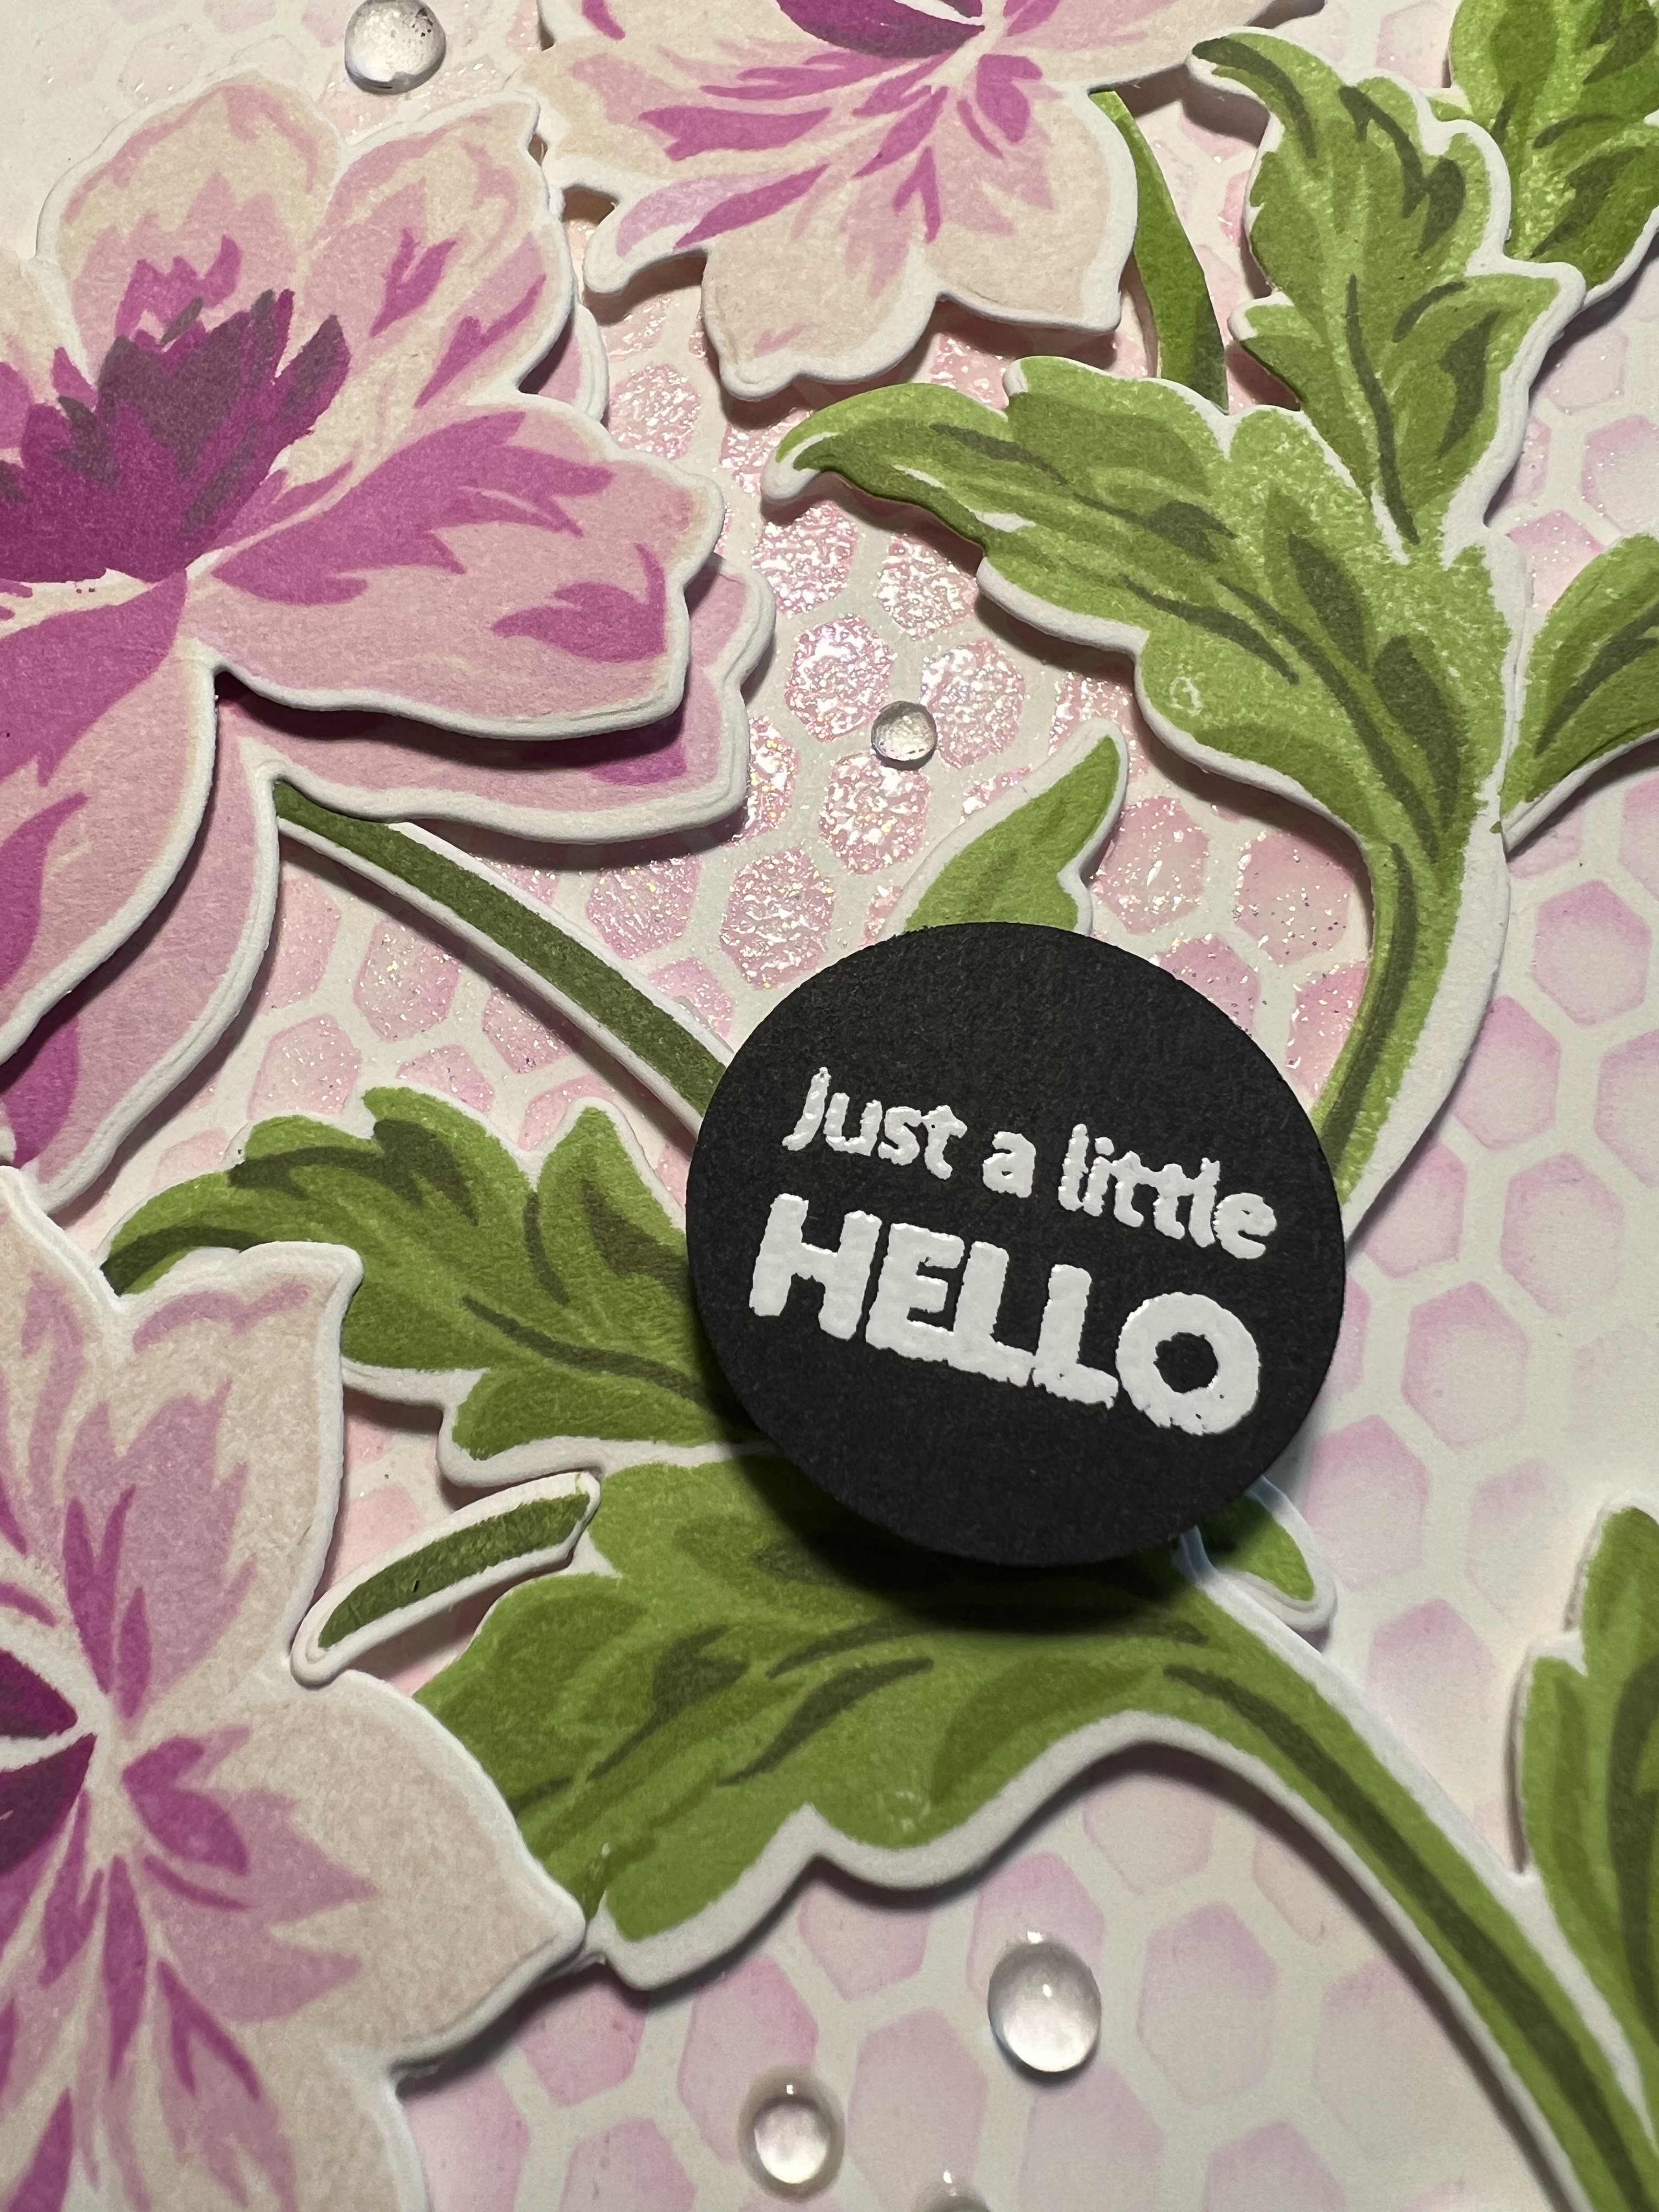
When the light hits it, it shimmers just under the layered flowers. I also used some clear jewels that look like water droplets. Those together with the embossing powder really put a step up in the card.
Starting from the beginning of the process of making the card, I chose the Angelique Motifs stamp and die set to work with. I used the fine tulle background stencil and various Altenew pink, purple and green crisp dye inks for the images. I used the larger blending brush to blend the ink onto to the card panel. I cut the front panel of the card to 5 and a quarter x 4 inches. I placed my flowers in position and used some press and seal to keep the image together. I used Altenew instant dimension foam adhesive to give them a little lift. Placed it on the base and added one more flower on the largest image using the foam tape as well. I stamped and embossed the sentiment with Pure White Crisp Embossing Powder from the Paint a Flower- Fashion Monger Dahlia on black cardstock and used a circle punch to cut it out, adhered it with foam adhesive and mounted it on a black piece of cardstock then adhered it to an A2 card base. The black frame gives it balance with the circle sentiment. I trimmed some of the leaves off but chose to keep the flowers over the edge of the panel.
Below are a couple pictures of some of what I used. I usually take photos so that I can remember all of the products I used. It has been a huge help!


Comments