I passed the first challenge and have started on my level 2 courses. I have had a ton of things going on day to day so it took me a bit to get to sit down and make a post. I still try to make things every chance I get so I have a few cards to post here as well.
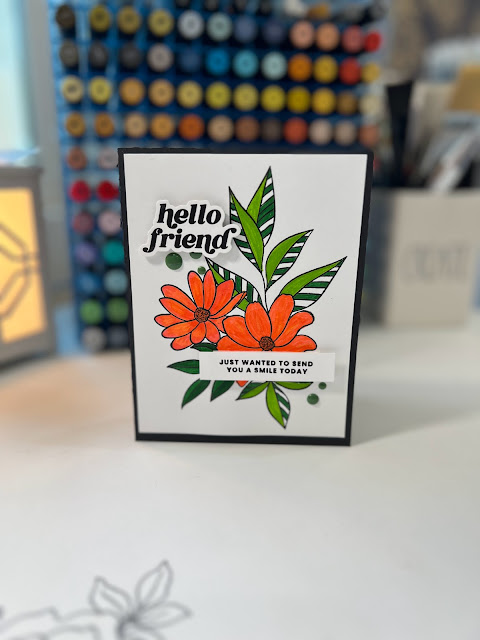
The first 4 are from the April release from Altenew. Maryam Perez was chosen to create a stamp set and she did amazing!! It's called Sweet Bouquet. The complete bundle includes a stamp set, a die set and a stencil set.
I used the stencil on the first card and I love the result. Mounted it on a piece of black cardstock to frame it and used some foam tape for dimension along with a sentiment form the same set and some black enamels dots. I did a very light blend on the background stencil and love the way it looks in person.
The second card, I used washi tape to cover and entire piece of 5 and a half by 11 inch cardstock with the washi tape. I stamped the image on and heat embossed it. Not the best idea when it was all said and done. The embossed lines don't like to stay where they were put. No worries though. I used one of the fine liner pens to fill in where it came off and it seemed to work just fine. I decided to put the image behind the card panel to help protect the stamped image a bit and added a sentiment in the middle along with a smaller sentiment just below it, then embellished it with some Altenew sequins.
I used the same piece of cardstock to make the background on the second card and cut out the stamped image with the coordinating die. Popped it up with dimensional foam tape and added some jewels along with a coordinating sentiment. It went together very quick and easy.
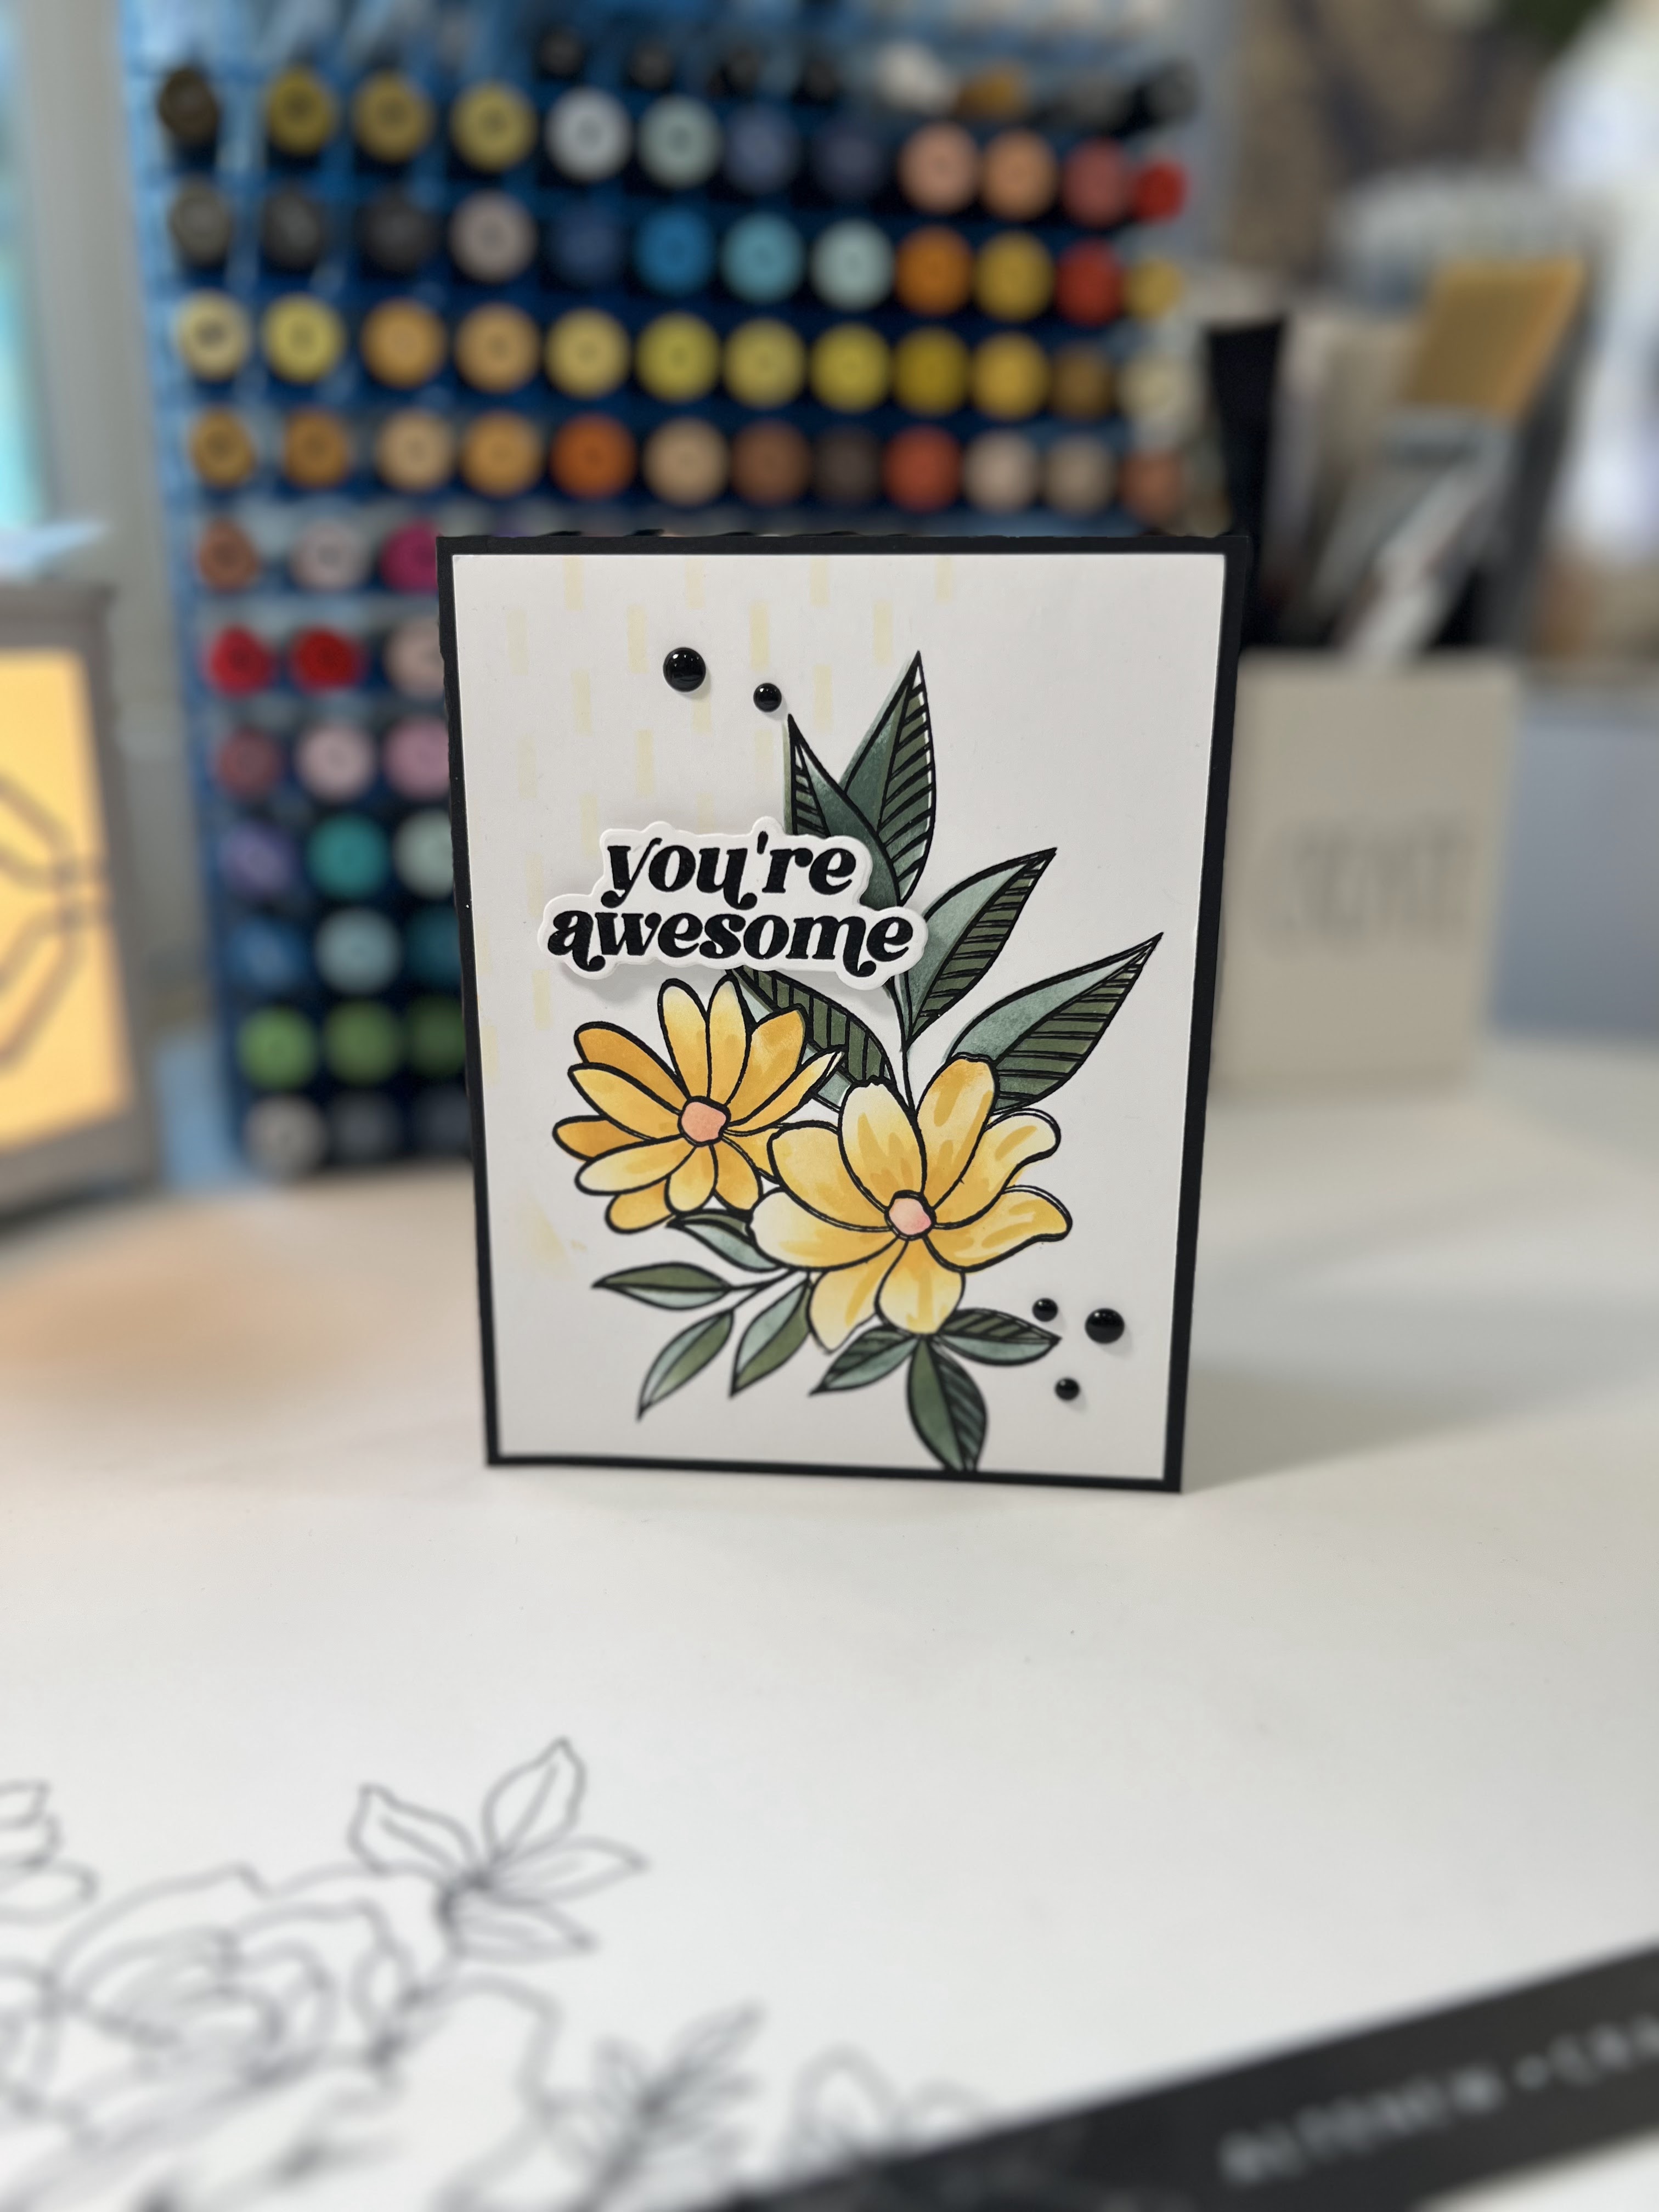
The last card I chose to use some watercolor markers on the stamped and embossed image. I didn't use any water so that it didn't warp the paper. I put it on a black cardbase and lifted the sentiments with foam tape, then used some enamel dots from the Green Valley colors set.
This one was simple as well. When I got the die set I immediately cut it out to see what it looked like. I saved it for a while and just stuck it in an envelope. I had quite a few of the word sentiment dies cut and stacked so I used a black base and glued the cut out to it along with a sentiment and done. :)
The cards here are made from the latest release from Craft Meraki and a foil plate from Erin Lee Creative. The one is the printed images from the release die cut and mounted to the card that has been embossed and a line of washi to separate the dimension in the cardstock. The second card is simple. Just a foil plate, both negative and positive used on the cardstock and a Crafty Meraki sentiment.
Ah, the billowing Peonies stamp... It's very large and very bold once you have it on paper. I decided to do some ink blending with the oxide inks. I am not disappointed! I know why everyone uses them now. I LOVE the way they work. Simple and to the point on here. It's a 5x7 card and it looks so pretty in person.
The next one...I ink blended with oxides and used the newest release from Erin Lee Creative. The palm trees are my favorite. I 'tried" to make a different shaped card but in the end decided I need an actual die the cut it instead of free handing it. I mess up every time. I'm not sure why but I have never been able to cut straight. I am left handed, yet cut with my right hand so I think that may have something to do with it. Who knows...
 |
| More Crafty Meraki |


Comments